Learning objective:
The MINDBODY Business App is a valuable way to help operate the studio on a day-to-day basis, facilitating new Membership sales, customer account management, and running some basic reports. The Business App is not intended to be the primary method of running MINDBODY for your studio, but is a great solution for creating a new member, making a sale, or checking sales figures if a computer is not available, or on the go.
Since the Business App is very expansive we have broken the Business App training material into individual tutorials focused on individual features of the app such as Retail, Clients, and Reports.
This tutorial will concentrate on the Retail features.
Getting Started
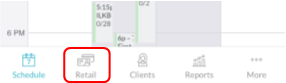
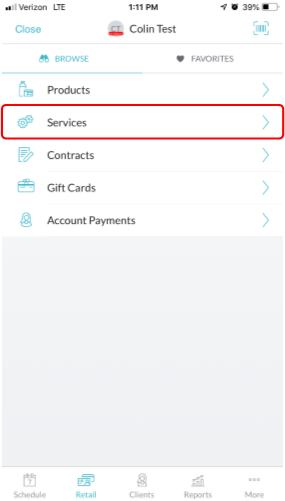
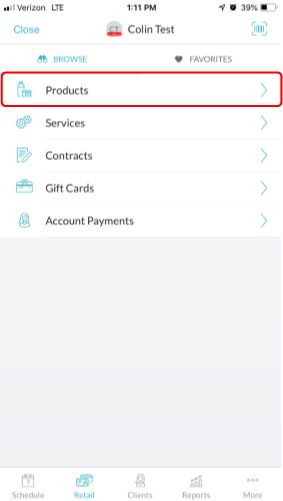
- Once you have logged in to the app click the Retail icon in the bottom section of the screen.
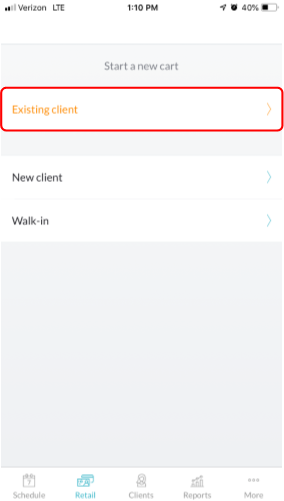
- Select Existing Client if the customer is already in your studio's MINDBODY database
- If the customer is a new student, or transferring from an existing studio, you may select New Client, but ideally the customer would already be in the system due to the unique iLKB new customer onboarding process.
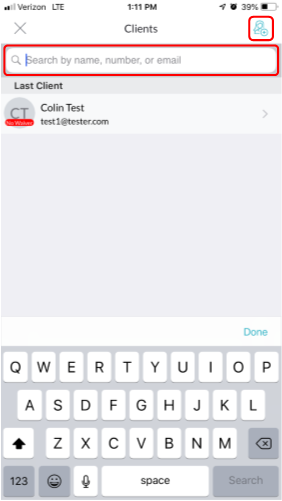
- Search for the customer in the box labeled Search by name, number, or email using any of the mentioned criteria
- Select the customer who is purchasing a new membership, pricing option, or retail item.
Selling Memberships
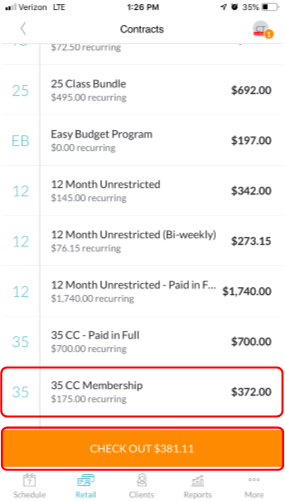
- Once you have selected the customer select the Contracts option.
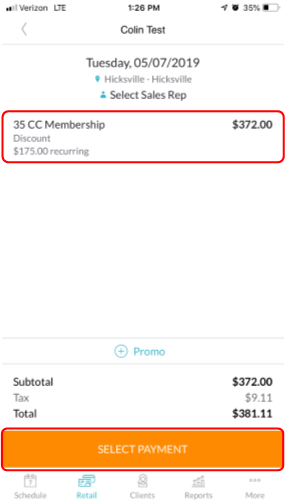
- Select the Membership the customer would like to purchase.
- Select Check Out on the bottom of the screen.
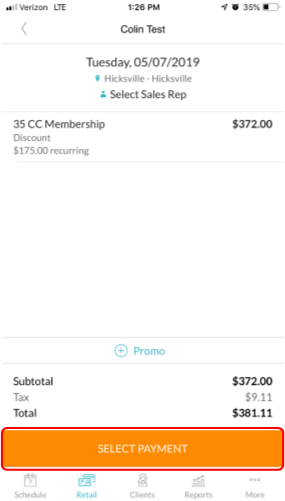
- If no discounts will be applied to the contract, proceed to Select Payment.
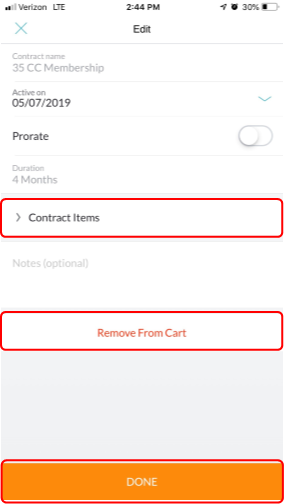
- If you selected the incorrect item and you need to remove the item from the customer's cart, click Remove From Cart
- Tap DONE
- Once you have all items the customer is going to purchase, tap Select Payment on the bottom of the screen.
- If the customer's credit card is on file already select select that card.
- If the customer's credit card is not select Credit/Debit and enter the credit card information which will then be saved for future use.
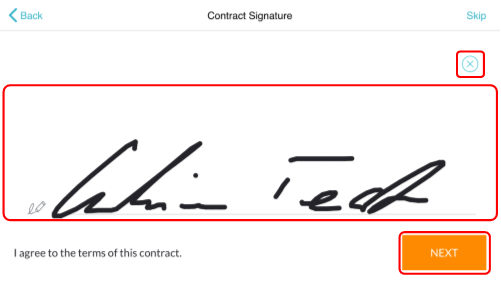
- Hand the mobile device to the customer for them to agree to the contract terms and sign for the purchase.
- The customer will select I AGREE at the bottom of the page
- The customer will use their finger to create a signature.
- Turn the mobile device sideways as this will create a larger space to sign making it easier on the customer.
- If the customer wants to reattempt their signature click the little X in the upper left corner to retry.
- Once the signature is complete tap NEXT
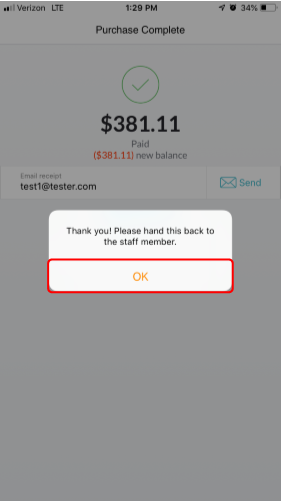
- The customer will be prompted to hand the mobile device back to the staff member. Once you receive the device tap OK
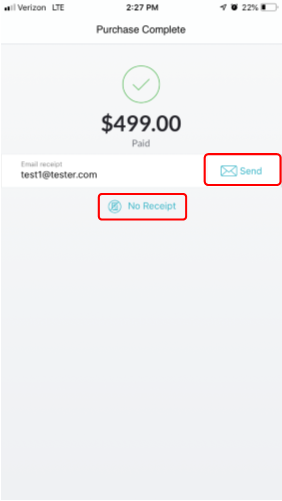
- The payment will then process and you will see a message appear on the screen indicating the transaction was completed successfully.
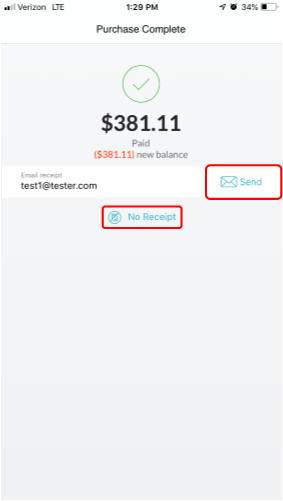
- If the customer has an email address on file you may click Send to send them a receipt for their purchase. If they do not want a receipt click No Receipt
-
Note: If the customer is going to purchase more than just the membership and they plan on using 2 different payment methods we suggest completing the Membership purchase separate from any items that will be Paid in Full.


Selling Additional Services
Services are slightly different than Memberships. Since a majority of sales will be comprised of Memberships and Class Passes available in the Contracts portion of the app, you will likely only go to Services for items such as iLKB Challenge where there is no reoccurring charges.
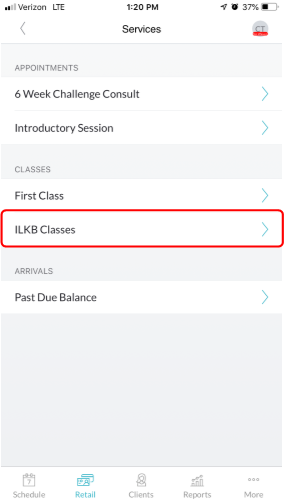
- Once you have selected the customer select the Services option.
- Select the appropriate Service Category.
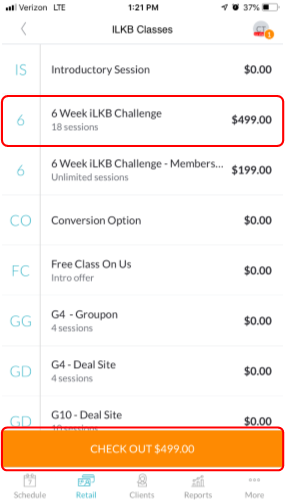
- Select the Pricing Option the customer would like to purchase.
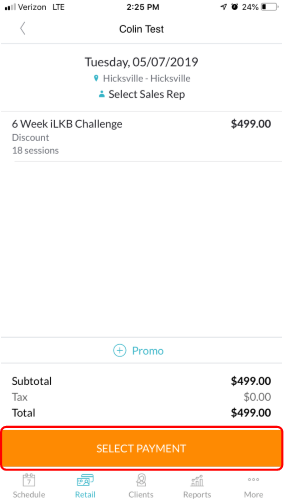
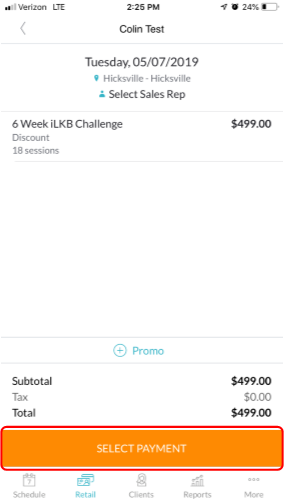
- Select Check Out on the bottom of the screen.
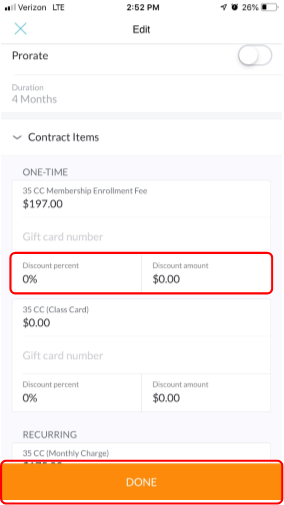
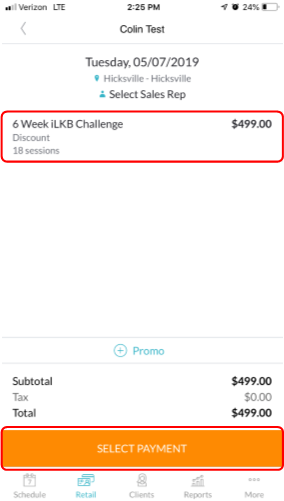
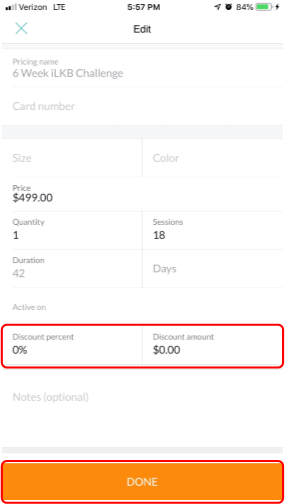
- If the customer is going to receive any sort of discount off their purchase tap on the Pricing Option.
- Apply the appropriate discount amount.
- Tap DONE
- Once you have all items the customer is going to purchase, tap Select Payment on the bottom of the screen.
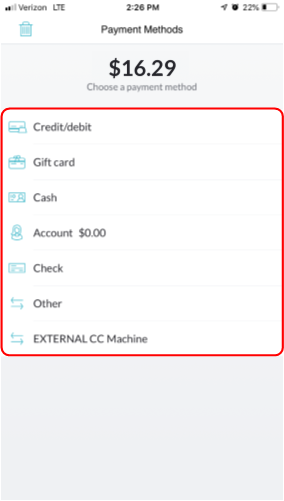
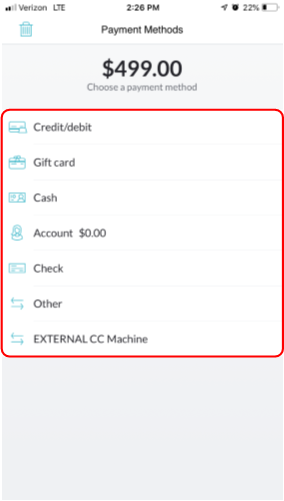
- Select the payment method the customer would like to use to pay.
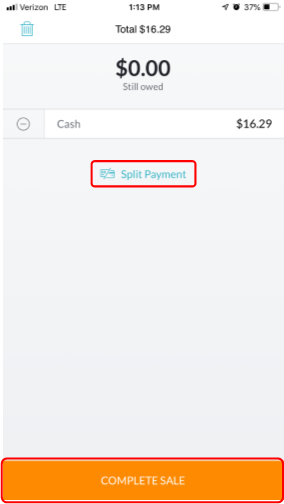
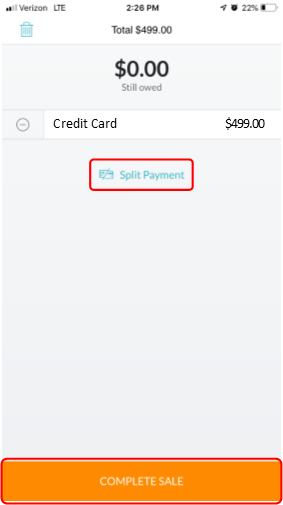
- Once you have selected your payment method you will have the option to Split Payment. Tap Split Payment and select your second payment method before completing the sale.
- Tap Complete Sale
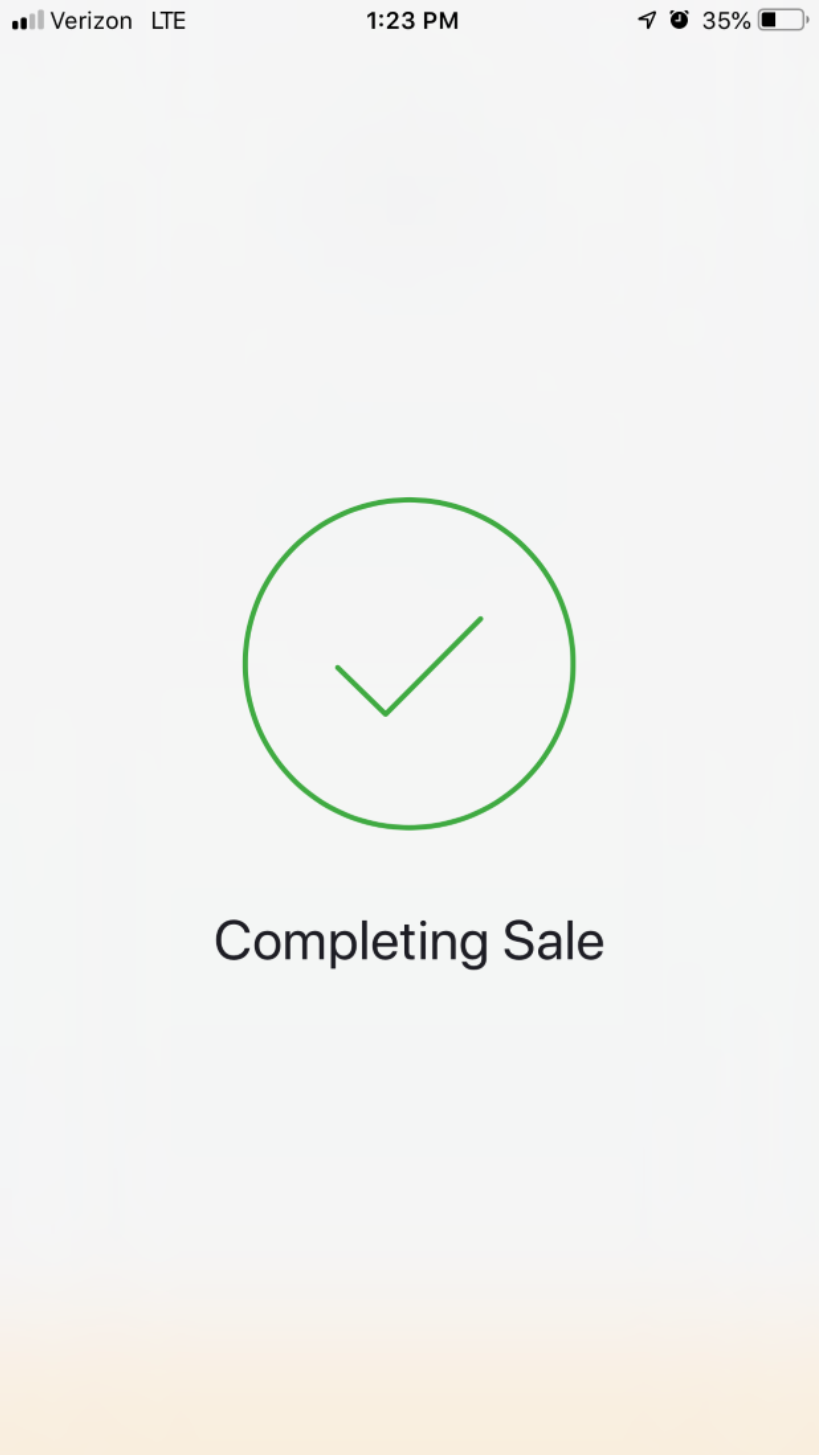
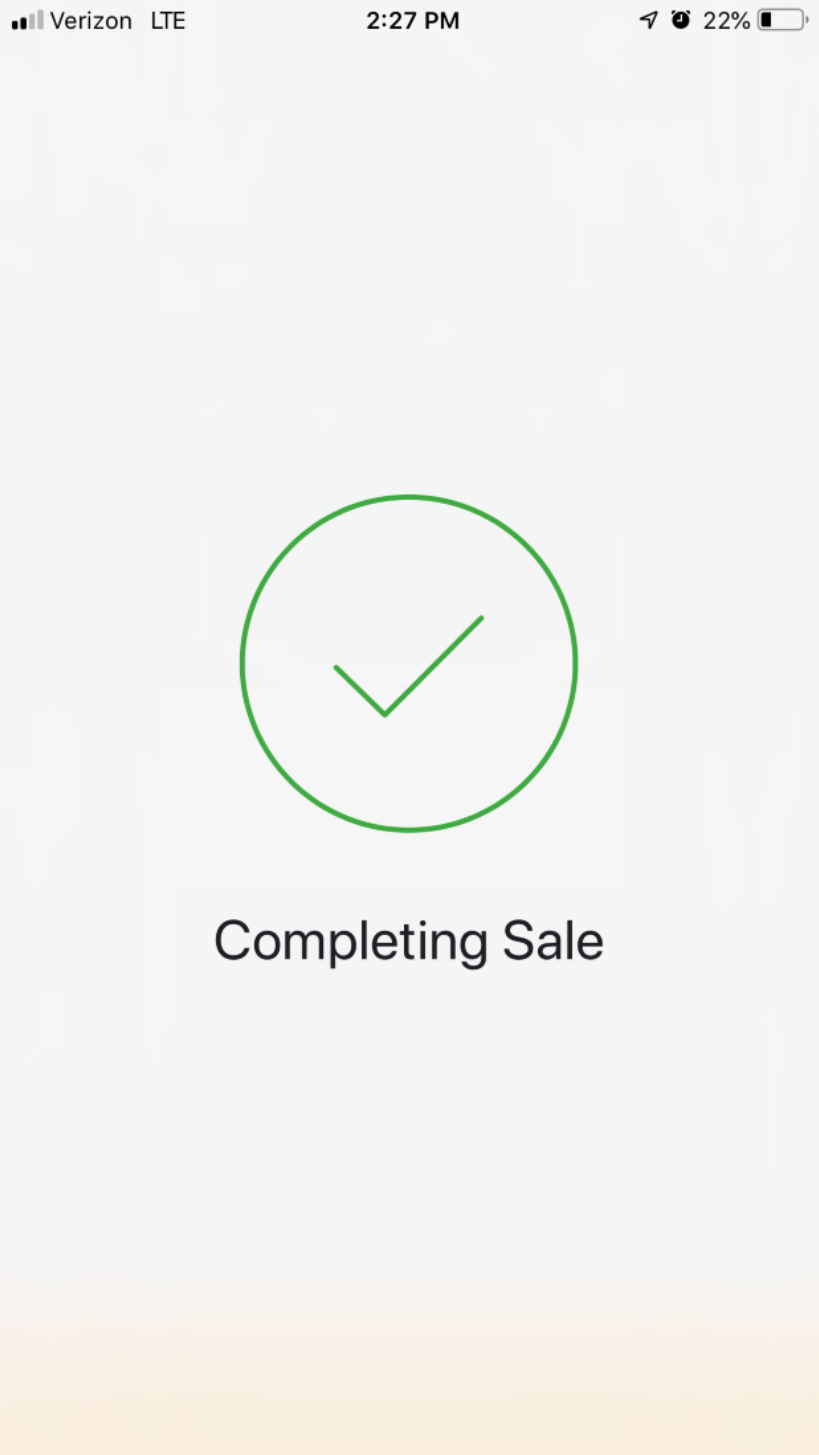
- The payment will then process and you will see a message appear on the screen indicating the transaction was completed successfully.
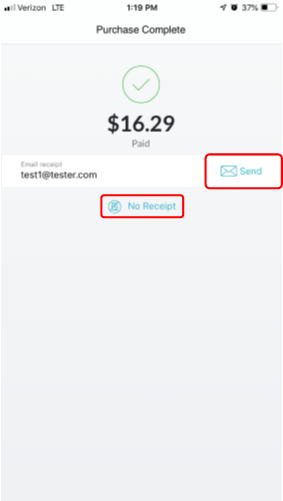
- If the customer has an email address on file you may click Send to send them a receipt for their purchase. If they do not want a receipt click No Receipt
-
Note: If the customer will not receive a discount, proceed to Select Payment
-
Note: If you selected the incorrect item and you need to remove the item from the customer's cart, click Remove From Cart
-
Note: If the customer has a Credit/Debit Card on file you will see this as an option listed in the Payment Method options.
Selling Retail Products
- Once you have selected the customer select the Products option.
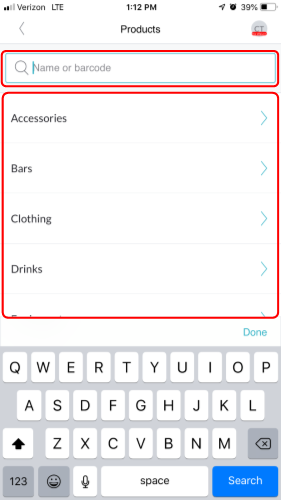
- Select the appropriate Product Category or use the Product Search bar to search for the product by name.
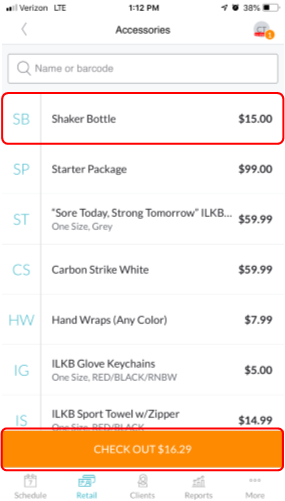
- Select the Product the customer would like to purchase.
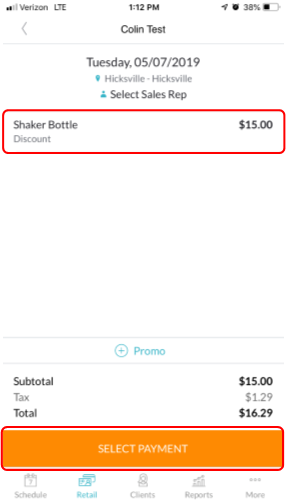
- Select Check Out on the bottom of the screen.
- If the customer is going to receive any sort of discount off their purchase tap on the Pricing Option.
- Apply the appropriate discount amount.
- Tap DONE
- Once you have all items the customer is going to purchase, tap Select Payment on the bottom of the screen.
- Select the payment method the customer would like to use to pay.
- Once you have selected your payment method you will have the option to Split Payment. Tap Split Payment and select your second payment method before completing the sale.
- Tap Complete Sale
- The payment will then process and you will see a message appear on the screen indicating the transaction was completed successfully.
- If the customer has an email address on file you may click Send to send them a receipt for their purchase. If they do not want a receipt click No Receipt
-
Note: If the customer will not receive a discount, proceed to Select Payment
-
Note: If you selected the incorrect item and you need to remove the item from the customer's cart, click Remove From Cart
-
Note: If the customer has a Credit/Debit Card on file you will see this as an option listed in the Payment Method options.