Sharing your pre-recorded videos
Outline
Now that you've set up pricing, a paywall, and uploaded your videos, next you need to share your video content with your clients. This can be done by sharing links to the entire library or for only individual videos. You can also share videos by creating easy to locate tabs on your Mindbody site for your clients to use.
Accessing the video library
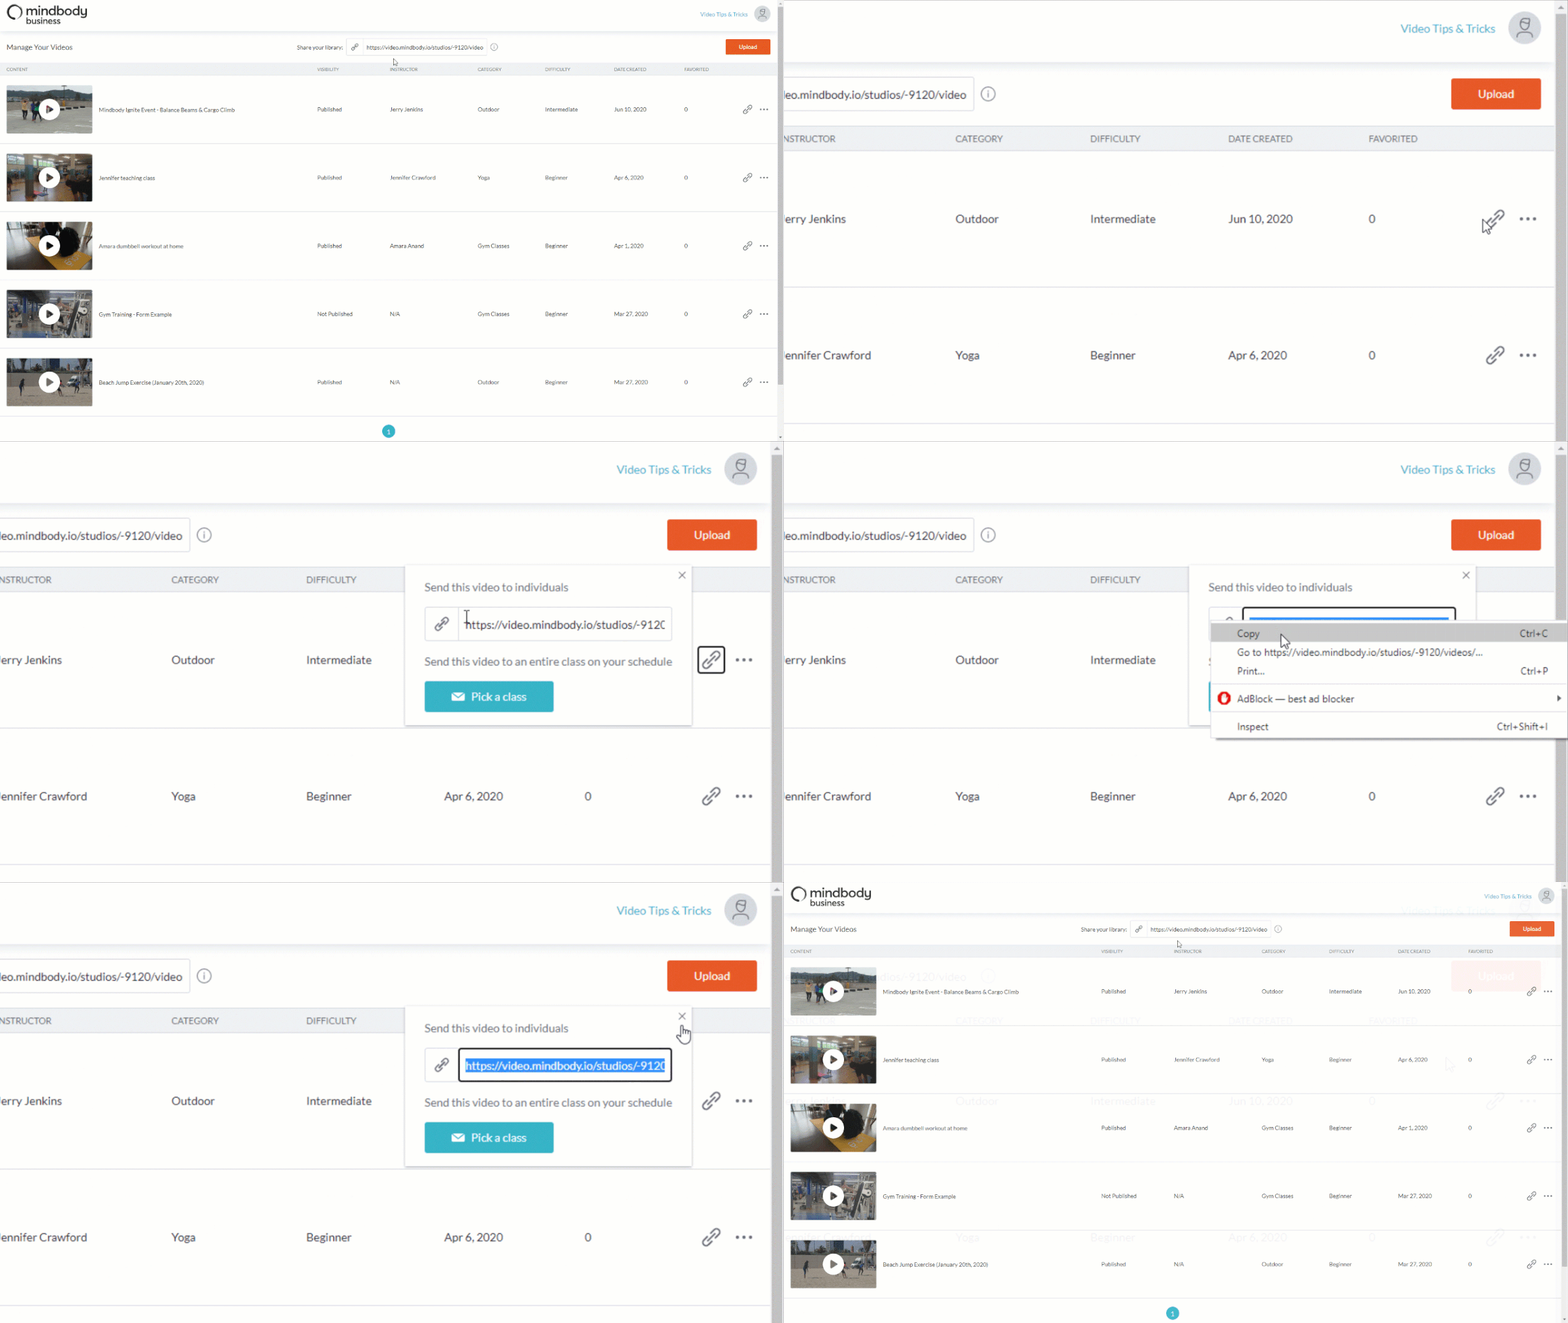
The link to access your video library can be found in the library itself. First, click the Video tab at the top of your site.

Next, click the space inside Share your library to copy the link.

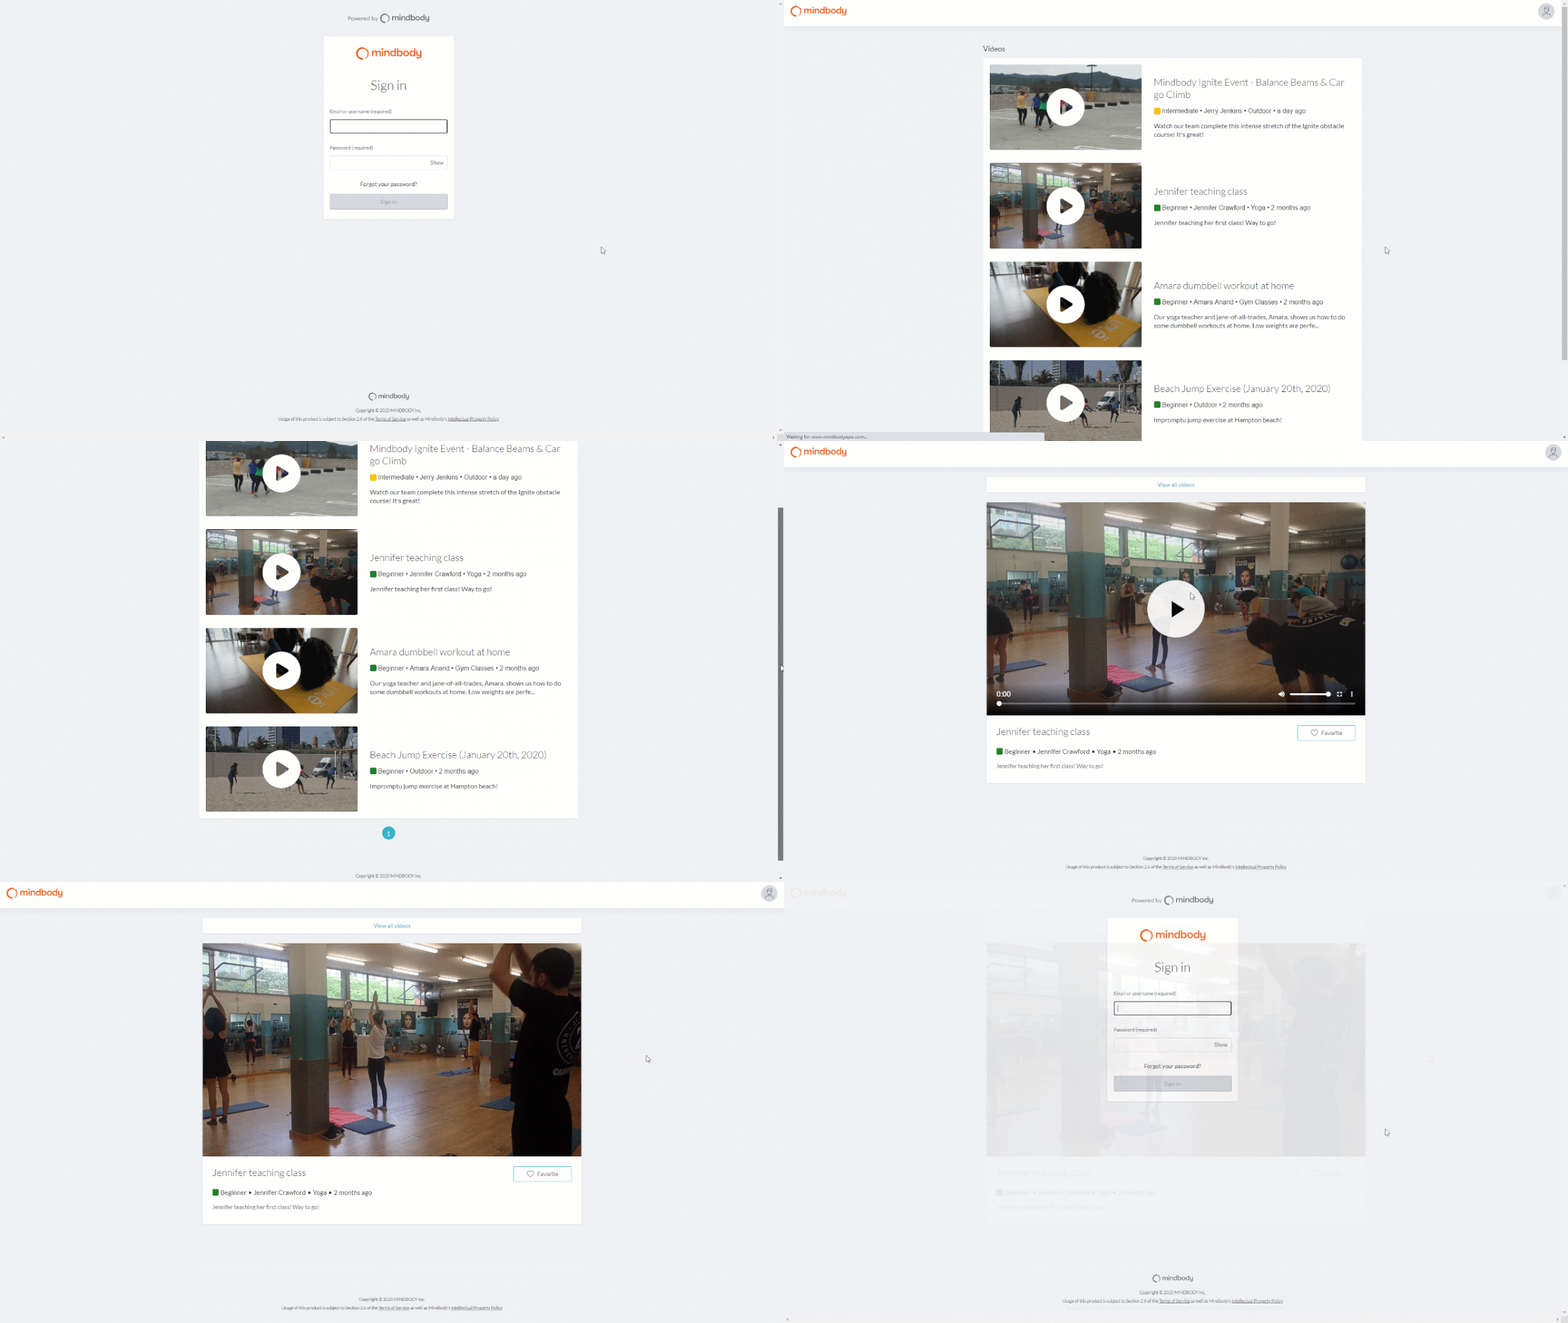
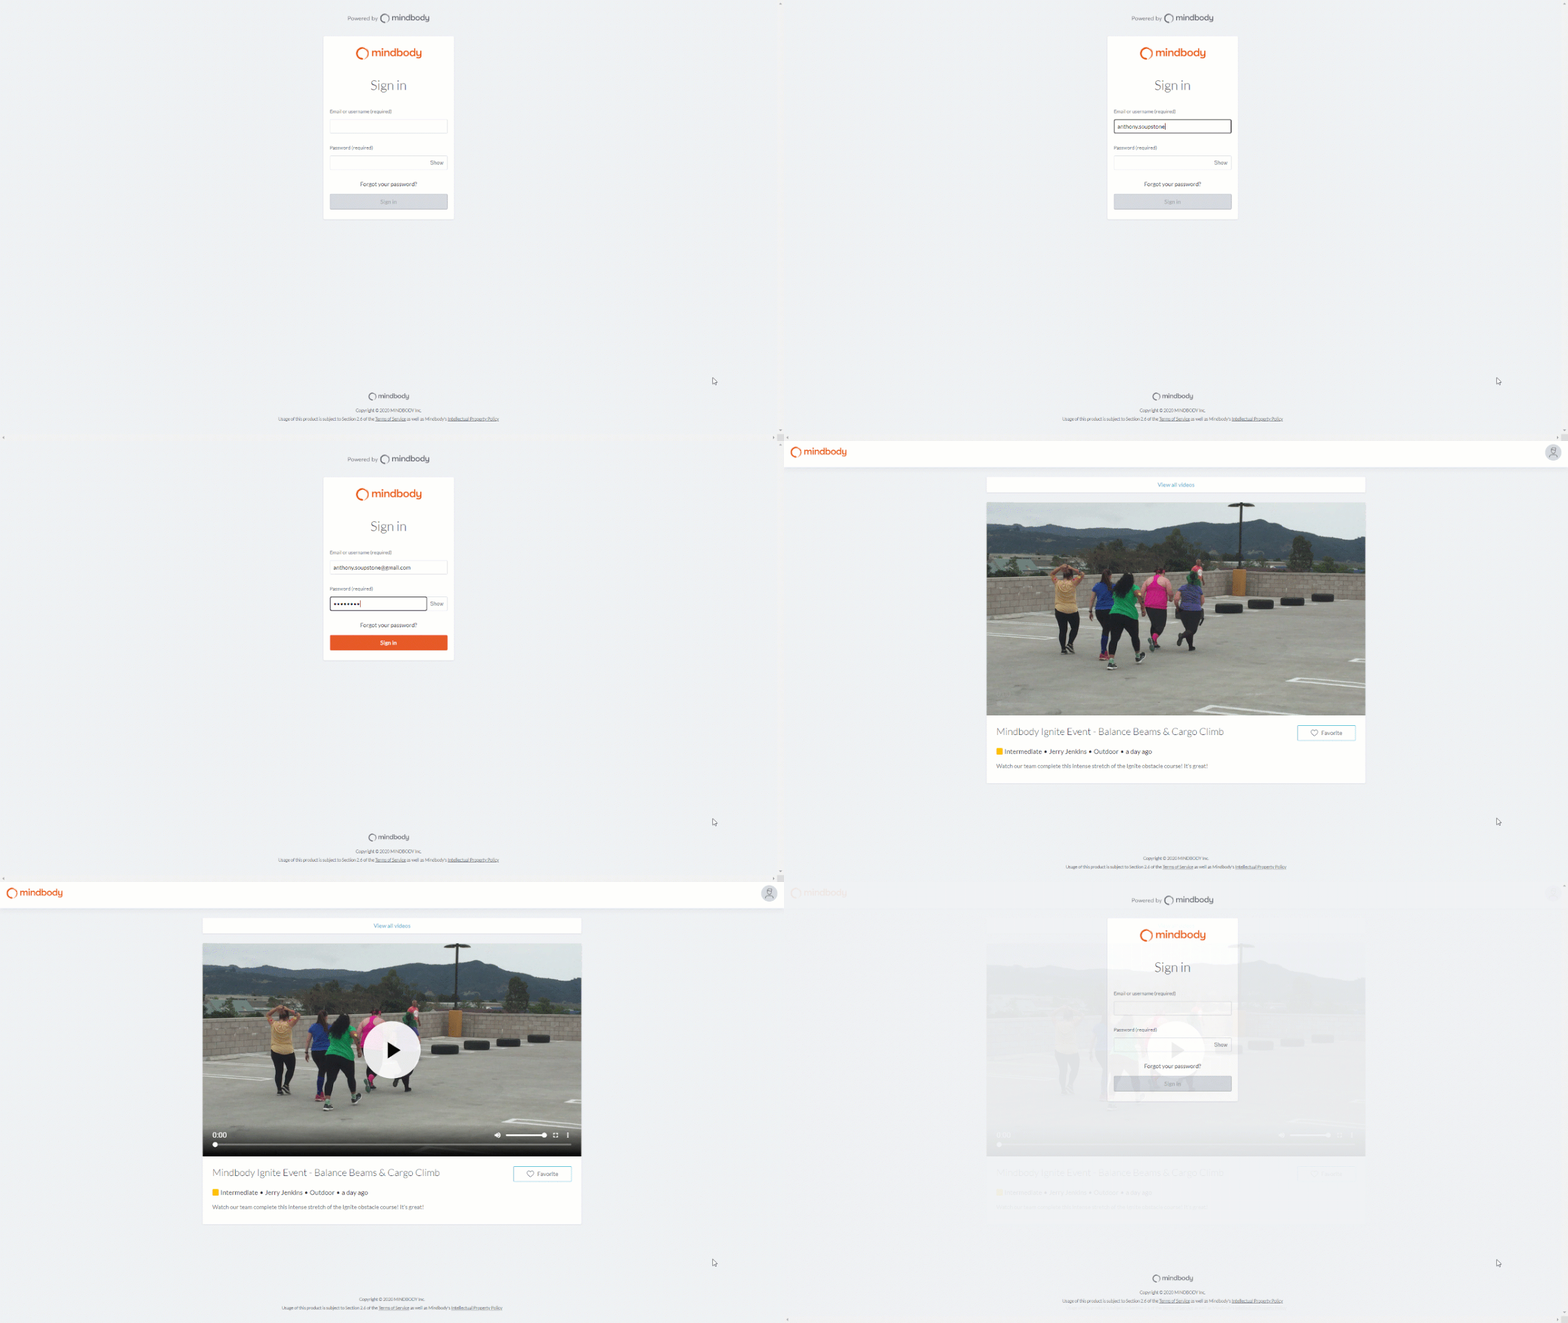
When you share this link to clients, they will be asked to log in with their email and password. These are the same credentials they use to access Consumer Mode. This ensures that only clients with valid pricing options can access the library.
Once logged in, clients will be taken to your video library, where they can browse through all your published videos.

To share an individual video, click that video’s Link icon to open its link menu. From here, you can either copy the link to send directly to a client or click Pick a class to send the video to an entire class on your schedule.

Clients that follow this link will be taken directly to the video in question.

Sending a single link can be done with any video in your library, regardless of whether it’s published or not.
Creating a Video Library tab
The Video Tab at the top of your screen is only visible internally, so a client in Consumer Mode will not see the Video tab. However, you can create a client-facing Video tab quite easily.
First, copy the video library link to your clipboard:
1. Click on the Video tab in your site.
2. Login to the Video Dashboard (if you haven't already).
3. At the top, click on the link icon. This will automatically copy the URL of your video library to your clipboard.

4. Return to your site and click Home and then Manager Tools.
5. From the Manager Tools screen, click Settings, then Tab Management.
6. Scroll down to the “Add a Tab” section, and enter the details of the new tab. Make sure to select Link on the right.
7. Click Add.

8. Locate the new tab in the Tabs list above, and add the Video library link (that you have copied to your clipboard).

9. Click Save.
Now, your clients can click on the Video library tab in Consumer Mode, login to Video, and access your library.
Additional sharing options
Your video link can be added to your business website and placed in auto emails to your clients.
Add a Video library link on your website
You can create a direct link from your business website to the video library. Simply embed the video library link (found by following the steps above) into a button on your website using HTML. When clients click on it, they'll be directed to your video library and prompted to log in to view the videos. Your webmaster will be able to assist you with this as long as you provide them with the link.
Adding link to the Class schedule
You can add the direct link into the Registration Notes for each class, which will populate in the Reservation auto email clients receive when they book your class. This is an easy way for clients to locate your VOD library, since they can just check their email.
