Live stream host controls
Outline
Learn the ins and outs of operating your live stream, such as muting, pinning, and using chat functionality.
Host options
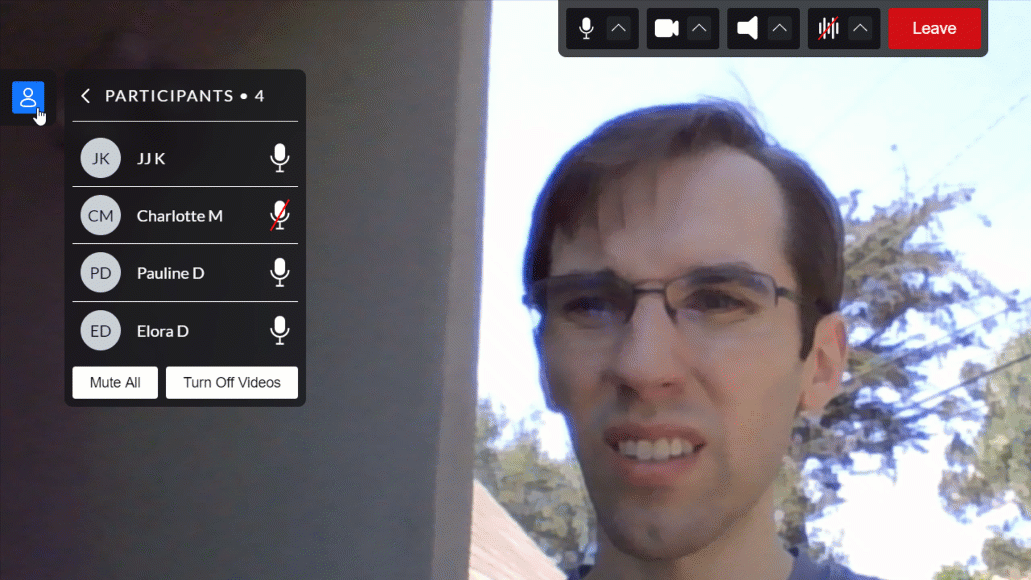
All staff have access to the controls found in the live stream. A list of the current participants can be found on the left side of the screen. This list is collapsed by default, and can by opened by clicking its icon.

You'll have 2-way communication with all attendees who choose to interact. You can see 15 clients' videos total, either by scrolling to the left or right in Presenter view or all at once in Grid view. Only the first 15 attendees to join the class have the option to turn on their cameras. You may see fewer videos if any of those attendees choose not to turn on their camera.

All clients join the Live Stream as muted, but can unmute themselves if need be. If needed, you can mute or turn off the video for all participants by clicking that respective button at the bottom of the list. Keep in mind: the Mute All function will not affect the pinned video.
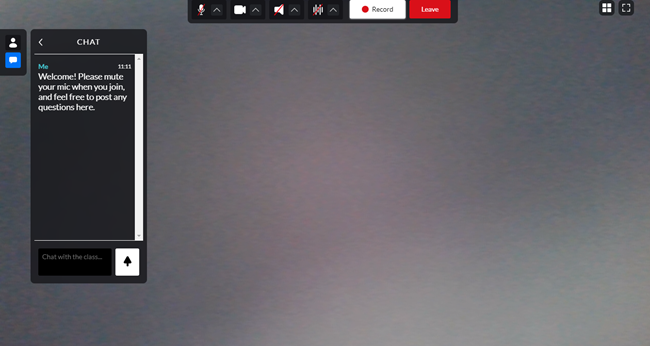
Also on the left side of the screen is a button you can click to open the Live Chat. You can use the chat box to post a welcome message to your live stream class participants, including important info, answers to frequently asked questions, helpful tips for a successful class, and more.

All chat messages are seen by all class participants, as there is currently no private chat option. Live Stream Recording will not record chats, and chat messages will only be visible for a participant as long as they are in your class. Lastly, all chat messages have a 280 character limit.
Screen sharing
Click the Share button at the top to share your screen with the class. You can display teacher training materials, a workout of the day, an agenda, or anything else you'd like class participants to see.
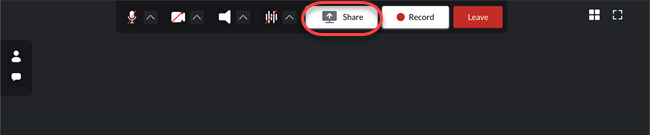
Note: You cannot use the Secondary audio option (most often used to play music) while sharing your screen. Learn more about sharing your screen in a live class here.